


02 · from the workshop
The numbers side by side
All solo miners from our range side by side, from entry-level model to the most powerful in the Nerd series. Click on a model for the product page.
| Model | Hashrate | Chip | Power consumption |
|---|---|---|---|
| NerdMiner T-Display S3 | about 77 KH/s | ESP32-S3 | 5 to 10 W |
| Bitaxe Supra | about 700 GH/s | BM1368 | about 15 W |
| Bitaxe Gamma | about 1.1 TH/s | BM1370 | about 18 W |
| Bitaxe Gamma Silent | about 1.1 TH/s | BM1370 | about 18 W |
| Nerdaxe Gamma | about 1.1 TH/s | BM1370 | about 18 W |
| Bitaxe Naja Duo | about 4.4 TH/s | 2x BM1373 | about 42 W |
| NerdQaxe++ | about 4.8 TH/s | 4x BM1370 | about 76 to 80 W |
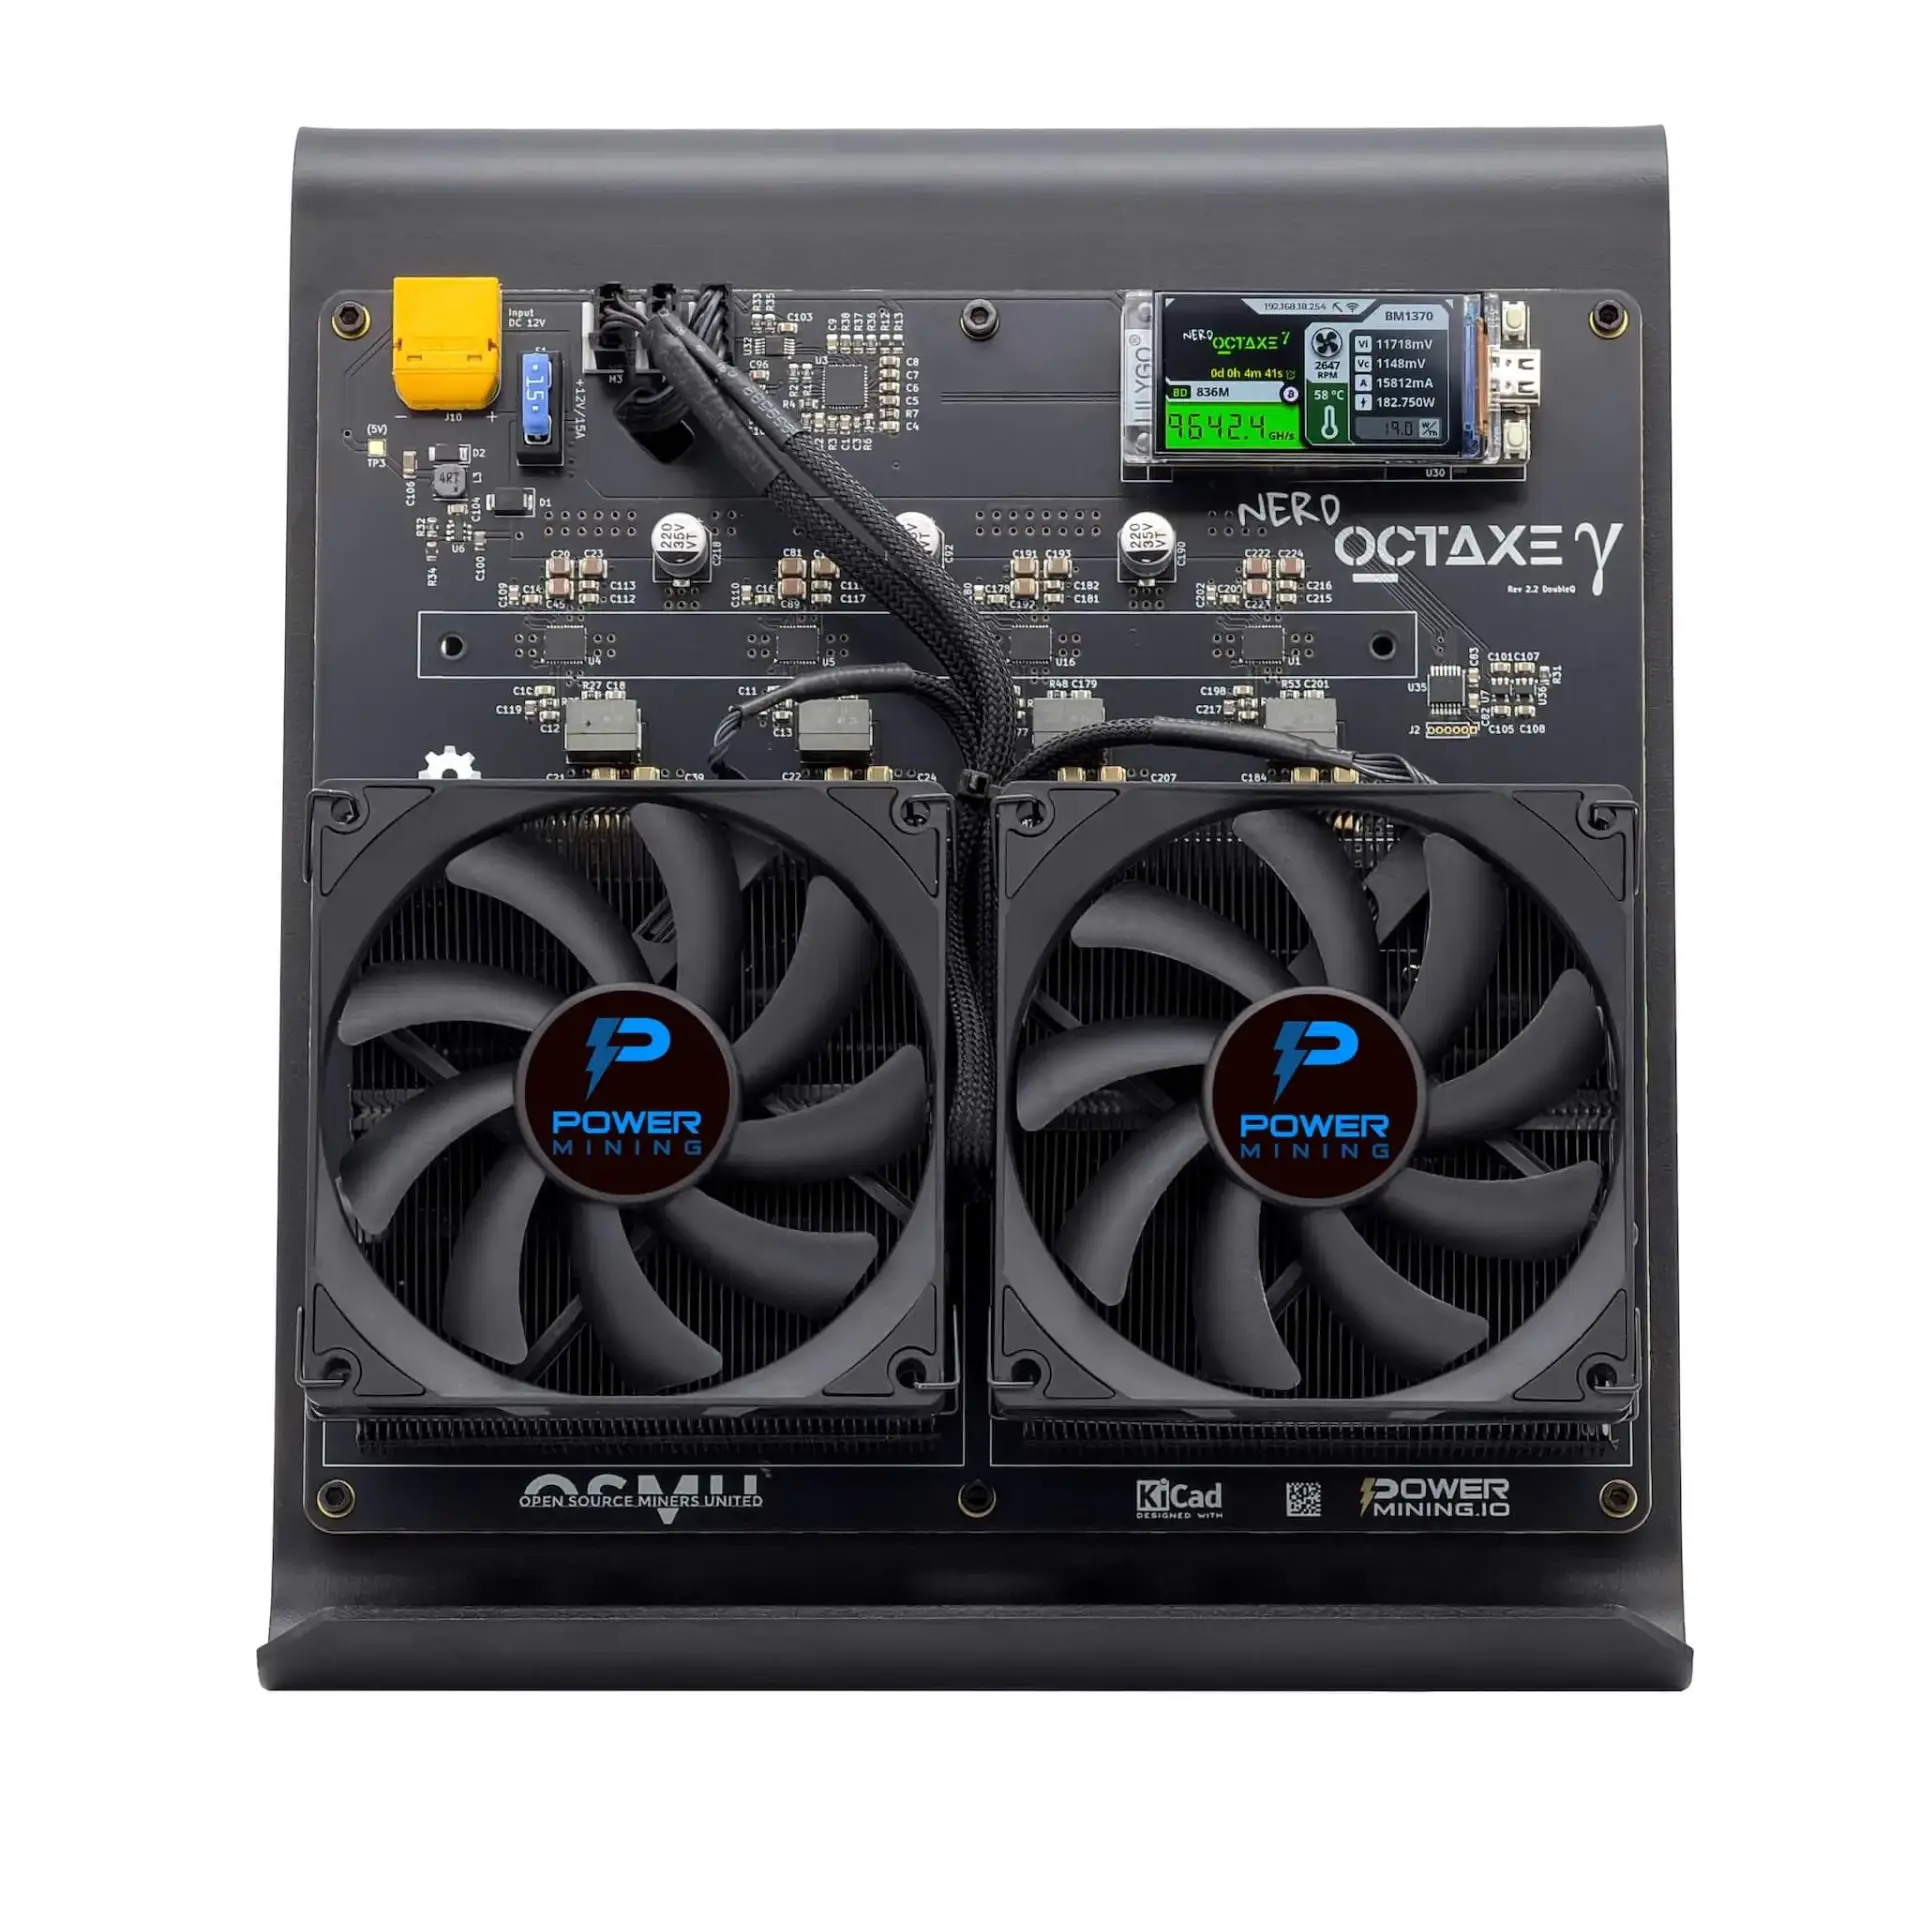
| NerdOctaxe Gamma | approximately 9.6 TH/s | 8x BM1370 | circa 160 W |
This miner is an open-source derivative of Bitaxe, the project of the OSMU community. You can find the original designs, firmware and documentation on the official project site bitaxe.org.
You will receive the NerdQaxe++ Rev 5.1. This is the revision that most NerdQaxe++ miners run on: it has the same four BM1370 chips and the same 4.8 TH/s as later revisions, with a round DC connector and a 12V 10A power supply. The firmware is the same for all revisions and receives regular updates. It runs stably on default settings. We do not recommend overclocking with the included power supply, as it is not designed for that.
<!--
Want to know more? Read our complete NerdQaxe++ Setup Guide and Honest Review.
->
Setting Up NerdQaxe++ with AxeOS: 4 Steps
The NerdQaxe++ runs on AxeOS (open-source firmware based on ESP-Miner). Setup is done via Wi-Fi. You'll need: a laptop or phone with Wi-Fi and your own bitcoin receiver address.
- Turn on the NerdQaxe++ and connect to the configuration Wi-Fi network
Plug the device into power. It creates its own configuration Wi-Fi hotspot. Connect your laptop or phone to this network. - Set up your home network via the configuration portal
Open the configuration portal in your browser. Enter the name and password for your home network. The NerdQaxe++ will then automatically connect to your home network. - Open the AxeOS interface and enter your bitcoin address
Look up the IP address via your router or mDNS hostname. Open the AxeOS interface in your browser and enter your bitcoin receiving address. Use a non-custodial wallet, preferably a hardware wallet. - Configure the mining pool and start mining
Enter the pool URL for your chosen solo mining pool, save it, and the NerdQaxe++ will start right away. The hashrate and accepted shares will appear on the dashboard.


Reviews
There are no reviews yet.